How to Avoid Over-tightening Water Heater Element Bolts: Essential Tips and Best Practices
Water heater element bolts play a critical role in the efficient functioning of a water heater. These bolts are responsible for securing the heating elements to the water heater tank, ensuring that the heating process is effective and safe. When installed correctly, they facilitate the proper transfer of heat from the electrical heating elements to the water, thereby allowing for consistent and satisfactory water temperature regulation.
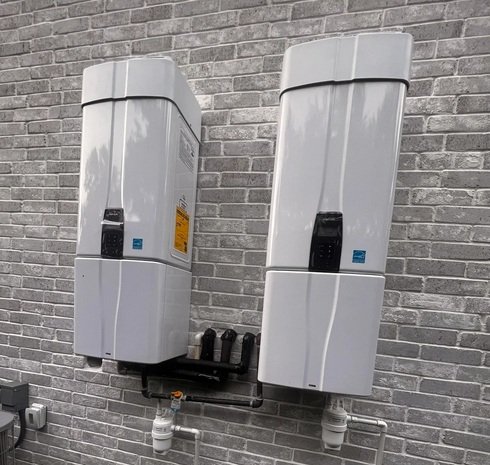
Each water heater typically contains a pair of heating elements, which can vary in design depending on whether the unit is electric or gas. The bolts, in conjunction with gaskets, create a watertight seal that maintains pressure within the tank and prevents leaks. The importance of these gaskets cannot be overstated; if they are compromised due to over-tightening of the element bolts, it may create gaps that allow water to escape, potentially leading to significant water damage or a complete failure of the unit.
Proper tension and torque on the water heater element bolts are crucial for optimal performance. If the bolts are over-tightened, they can warp the heating element or damage the gasket, resulting in inefficient heating operation and possible safety hazards. Conversely, under-tightening may lead to leaks and ineffective heating. As such, understanding the correct installation technique, which includes using a torque wrench to apply the manufacturer-recommended amount of pressure, is vital for maintaining the integrity of the water heating system.
Overall, water heater element bolts are an integral part of a safe and efficient heating mechanism. Their importance cannot be overlooked, particularly when performing routine maintenance or repairs. Proper care and attention during installation will ensure the longevity and reliability of the water heater, safeguarding it against potential failures and costly repairs.
The Risks of Over-tightening Bolts
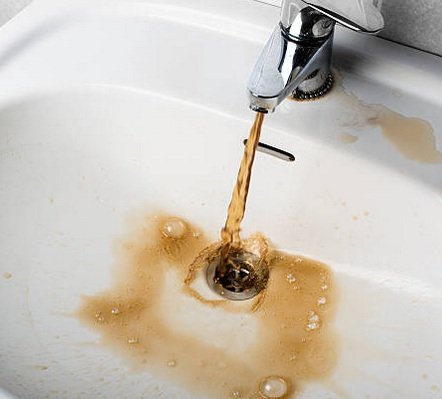
Over-tightening the bolts that secure the water heater element is a common mistake that can lead to several significant issues. One of the primary risks associated with this error is damage to the gasket. The gasket is responsible for creating a water-tight seal between the element and the tank. When the bolts are excessively tightened, the gasket can become deformed or compressed beyond its intended limits, leading to a poor seal. This damage may cause water leakage, which not only wastes water but can also lead to electrical hazards and further complications.
Additionally, over-tightening can compromise the integrity of the water heater itself. The pressure exerted on the tank from the bolts can result in cracks or other structural damage, particularly if the tank is made of inferior quality materials or is older. Such damage can be catastrophic, leading to potential tank failure, which poses a serious risk of flooding and can result in costly repairs or replacements.
There are numerous anecdotes within the plumbing community exemplifying the adverse consequences of over-tightened bolts. For instance, one technician recounted a case where a homeowner experienced significant water damage after attempting a DIY replacement of their water heater element. Unaware of the implications of excessive torque, they inadvertently cracked the tank, leading to hundreds of dollars in damages and repair costs. Such scenarios underscore the importance of adhering to manufacturer specifications when tightening these bolts and understanding the potential ramifications of oversights.
Furthermore, even if no immediate damage is evident, persistent issues can arise from unnoticed leaks that develop over time due to improper metal fatigue. Therefore, being mindful about torque application is essential for maintaining both the functionality and longevity of the water heater.
How to Properly Tighten Water Heater Element Bolts
Tightening water heater element bolts requires precision and a firm understanding of the necessary tools and torque specifications. To ensure safe and effective installation without over-tightening, follow these practical steps.
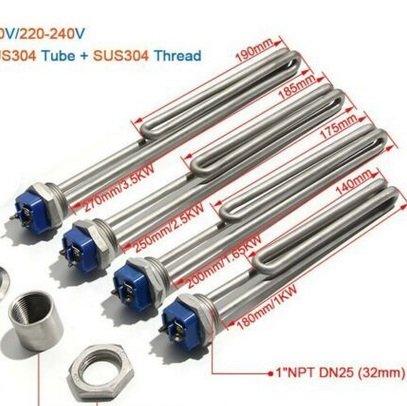
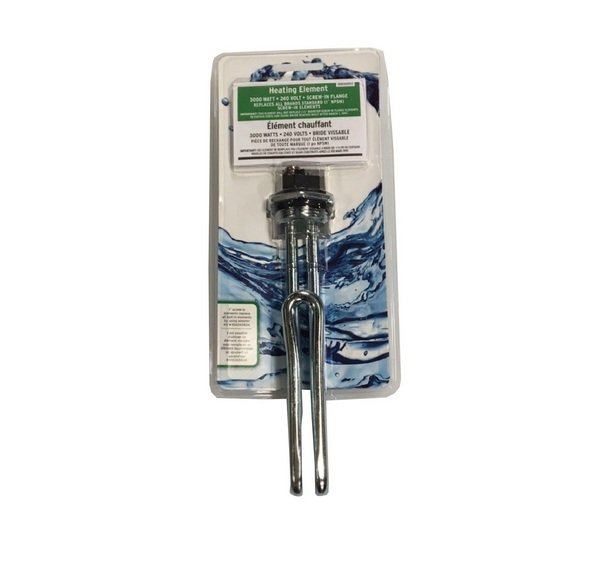
First, gather the essential tools for the job. A torque wrench is crucial, as it allows for the accurate application of force according to specific torque values. Additionally, a socket set that fits your water heater’s bolts will assist in allowing adequate leverage during tightening. Using the right tools minimizes the risk of over-tightening, which can lead to the failure of the gasket and cause leaks.
Next, refer to the manufacturer’s specifications for the accurate torque setting for the bolts, which often varies based on the water heater model. Generally, element bolts tighten within a range of 10 to 15 foot-pounds. Using your torque wrench, carefully tighten each bolt against the gasket. It is advisable to approach this tightening in increments rather than fully snugging the bolts at once. This technique allows for even pressure distribution across the gasket, ensuring a secure yet not overly tight fit.
After achieving the manufacturer’s specified torque, visually check the bolts and apply a gentle hand-check. A simple method to verify proper tightness involves using your fingers to attempt to turn the bolts slightly—if they do not budge, they are adequately secured. When checking tightness, resist the temptation to further tighten, as this can strip threads or harm the gasket.
By utilizing proper tools, adhering to specified torque limits, and conducting careful checks on bolt tightness, you can effectively prevent over-tightening. This practice not only maintains the integrity of the water heater but also promotes a safe and long-lasting operation.
Best Practices for Water Heater Maintenance
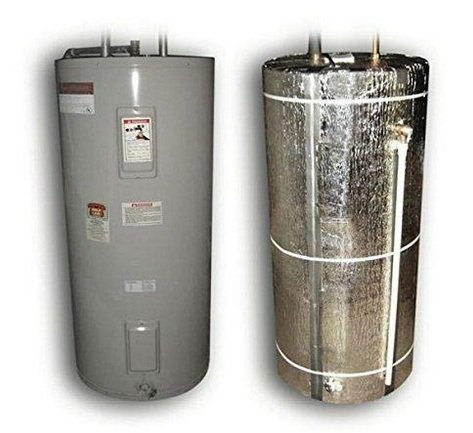
Regular maintenance is crucial for extending the lifespan and enhancing the efficiency of water heaters. Homeowners should conduct routine inspections to identify any potential issues before they escalate into significant problems. One of the recommended best practices includes checking the water heater at least once a year, observing for signs of leaks, corrosion, or unusual noises, which often indicate underlying complications.
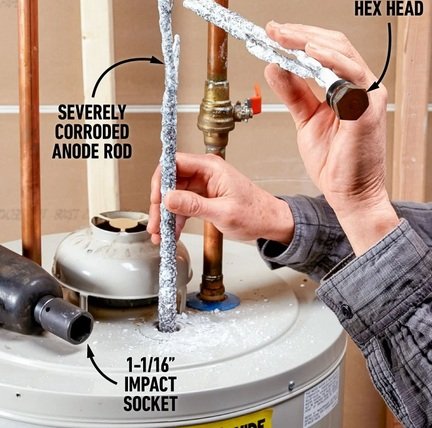
It is equally important to examine the anode rod, typically located within the tank, as it plays a vital role in preventing rust and corrosion. In most cases, the anode rod should be inspected every three years and replaced if it shows signs of significant wear. Regular flushing of the tank is recommended to remove sediment buildup, which can hinder performance and efficiency. This should ideally happen annually to maintain optimal water quality and temperature regulation.
Another preventive measure is to ensure the temperature settings on the thermostat are not excessively high. Ideally, the thermostat should be set between 120 to 140 degrees Fahrenheit. Higher temperatures can lead to faster wear and increase the risk of overheating, which could cause damage to the heater. Homeowners may also want to evaluate the water pressure, which should ideally be maintained below 80 psi. A pressure-reducing valve could be installed to manage excessive pressure.
Lastly, creating a maintenance checklist can help keep these tasks organized and consistent. This checklist should include the inspection of the anode rod, flushing the tank, adjusting the thermostat, and checking for leaks. By adhering to these best practices, homeowners can ensure that their water heaters remain efficient, prolonging both their functionality and life span.