A Step-by-Step Guide to Replacing a Water Heater Thermostat
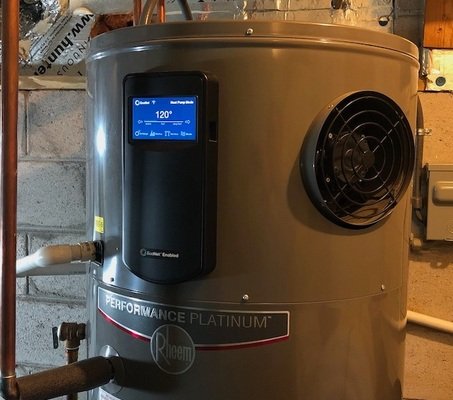
A water heater thermostat is a crucial component in both traditional and tankless water heaters, serving as the regulation unit that maintains the desired water temperature. Its primary function is to monitor the temperature of the water within the tank and adjust the heating element accordingly. When the water temperature drops below a pre-set level, the thermostat activates the heater to restore the temperature to the selected settings, ensuring a continuous supply of hot water.
Despite their vital role, water heater thermostats can occasionally fail due to a variety of reasons. Common causes of thermostat malfunction include electrical issues, mineral build-up within the water tank, or general wear and tear over time. Such failures can lead to insufficient hot water, increased energy costs, and potentially, damage to the water heater itself. This is why regular maintenance of the thermostat is essential; homeowners should monitor its performance and address any irregularities as soon as they arise.
The importance of maintaining an efficient water heater thermostat cannot be overstated. A properly functioning thermostat not only ensures optimal water heating but also contributes to significant energy savings. If the thermostat is malfunctioning and the heating element is left running longer than necessary, it can lead to higher utility bills. Regular checks and timely replacements can help prevent these issues, making it important for homeowners to familiarize themselves with their heating system and be proactive about thermostat maintenance.
Tools and Materials Needed for the Replacement
Replacing a water heater thermostat involves several essential tools and materials that are crucial for a successful installation. Firstly, a standard toolkit should include screwdrivers—specifically, both flat-head and Phillips-head varieties. These tools will be necessary for removing the thermostat cover and securing the new thermostat in place.
In addition to screwdrivers, a multimeter is an important tool to have on hand. This device helps to check for electrical continuity and verifies that the thermostat and heating elements are functioning correctly before and after the replacement. When working on electrical components, it is also recommended to have wire cutters and strippers to handle any wiring that may be affected during the process.
Moreover, appropriate safety equipment is essential when replacing a water heater thermostat. Safety goggles can protect your eyes from debris, while gloves can prevent accidental electrical shocks and protect your hands from sharp edges. Additionally, a voltage tester is advisable for ensuring that the power to the unit is completely turned off prior to beginning any work, minimizing the risk of electrical accidents.
The materials required for the thermostat replacement primarily include the new thermostat and possibly new screws or washers, depending on the condition of the existing ones. You may also need electrical tape or heat-shrink tubing to ensure that all connections are properly insulated, which is critical in preventing future electrical issues.
Before starting the replacement, it is a good practice to gather these tools and materials in one location to ensure a smooth workflow. Proper preparation aids in reducing time spent on the project and enhances overall efficiency while maintaining safety protocols throughout the process.
Step-by-Step Instructions for Replacing the Thermostat
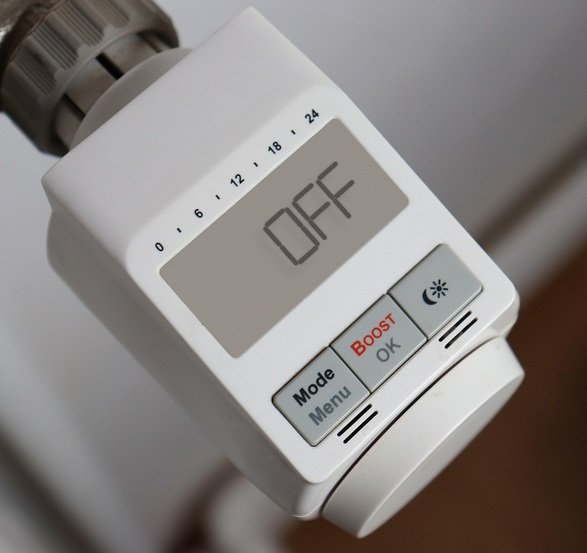
Replacing a water heater thermostat involves a series of careful and methodical steps to ensure safety and functionality. Begin by turning off the power supply to the water heater to prevent any electrical hazards. For electric models, locate the circuit breaker that corresponds to the water heater and switch it to the off position. For gas models, turn the thermostat to the “off” setting. This initial precaution is vital for safe replacement.
The next step is to drain the tank. Attach a garden hose to the drain valve at the bottom of the tank, and route the other end to a suitable drainage location. Open the drain valve and allow the tank to empty completely. This step not only makes the replacement process safer but also prevents water from spilling during the thermostat replacement.
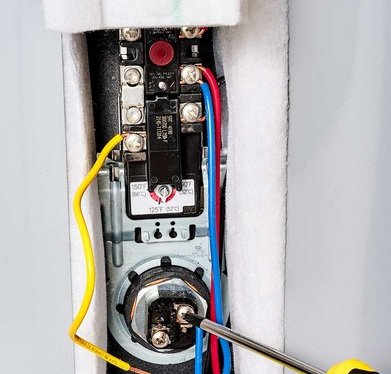
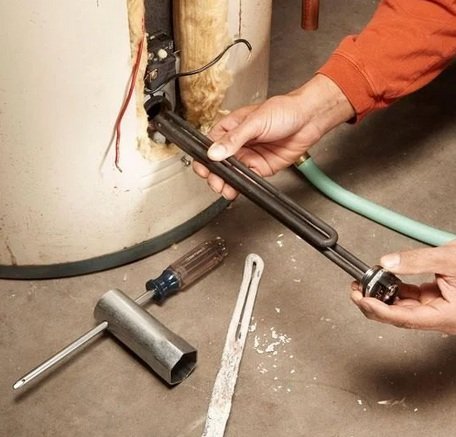
Once the tank is drained, locate the access panel on the water heater to reach the thermostat. Remove any insulation and the panel, exposing the thermostat. Disconnect the wires attached to the old thermostat while noting their configuration for reinstallation. This is a critical step, as miswiring can lead to further issues.
Having removed the old thermostat, proceed to install the new one. Align it in the same manner as the old unit and ensure the wires are connected securely to match the original configuration. Ensure that all screws and mounts are tightened properly, avoiding any potential for looseness that could cause malfunction.
With the new thermostat installed, replace the access panel and re-insulate if necessary. Finally, refill the tank by closing the drain valve, removing the garden hose, and then turning the water supply back on. After the tank is filled, restore power to the water heater and double-check for any leaks or unusual sounds upon startup. This replacement process, while straightforward, should be approached with caution to safeguard against common pitfalls.
Final Checks and Maintenance Tips
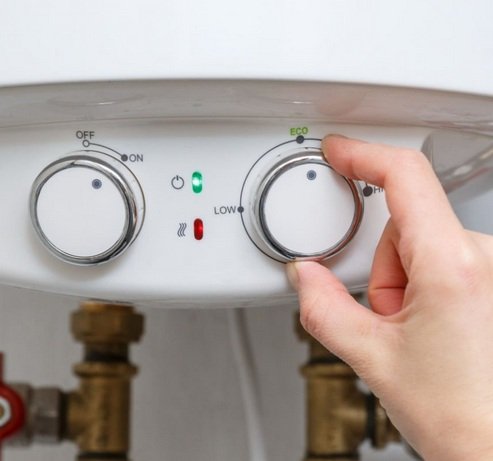
After successfully replacing the water heater thermostat, it is essential to conduct a series of final checks to verify that the thermostat is functioning correctly and that the water heater operates efficiently. Start by turning the power back on to the unit and allowing it to heat the water for a short period. Once this is done, carefully test the temperature settings using a reliable thermometer. Ensure that the water temperature matches the thermostat settings; if there is a discrepancy, further adjustments may be necessary.
In addition to immediate checks, regular maintenance of the water heater and thermostat is crucial for longevity and efficiency. Once a month, inspect the outer casing of the heater for any signs of rust or corrosion. Any noticeable damage should be addressed promptly to prevent leaks or more significant issues. Additionally, ensure that there is a sufficient clearance around the water heater for ventilation, which aids in its performance.
For optimal condition, it is advised to flush the water heater tank at least once a year to remove sediment buildup, which can affect heating efficiency. During this process, also check the anode rod, which helps prevent corrosion inside the tank. If it appears excessively corroded, consider replacing it to prolong the life of the unit.
In terms of the thermostat itself, keep in mind that these components typically last several years, but they should be inspected every two years for wear and tear. If you notice fluctuations in water temperature, it could be a signal that the thermostat requires replacement. Being proactive with maintenance not only ensures a comfortable hot water supply but can also save on energy costs by improving the overall efficiency of your water heater.