Why and How to Install a Drain Pan Under Your Older Water Heater
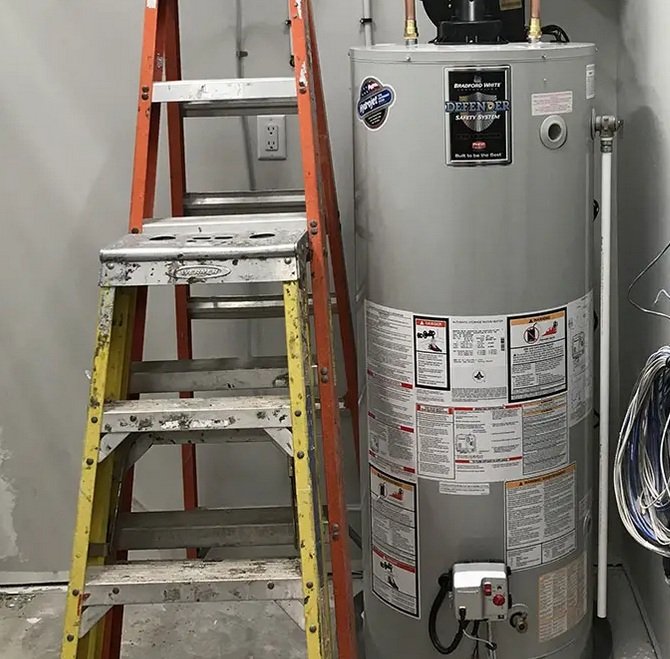
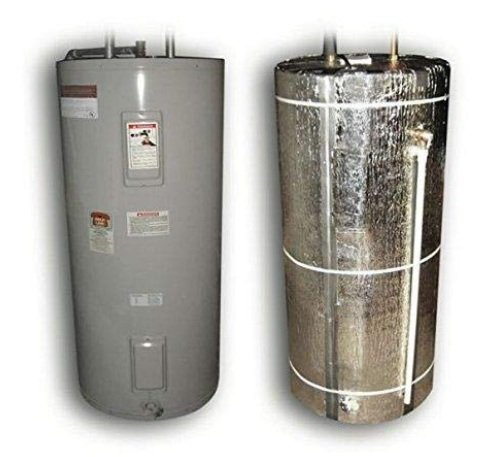
A drain pan is a critical component for older water heaters, primarily serving as a safeguard against potential water damage caused by leaks or overflow. As water heaters age, they become susceptible to malfunction, which can lead to leaks that may go unnoticed until significant damage occurs. An effective drain pan acts as a first line of defense, capturing any escaping water before it can cause harm to your property.
The risks associated with aging water heaters extend beyond mere inconvenience. If water seeps onto your floor, it can lead to mold growth, weakened structural integrity, and the necessity of costly repairs. Water damage can compromise not only the flooring but also the surrounding walls and foundations, making the eventual restoration both extensive and expensive. Moreover, when water collects in basements or crawl spaces, it creates an environment conducive to pests, exacerbating the issue.
A drain pan offers a means of preventing these adverse outcomes, effectively controlling the situation right from the start. By capturing any leaks, the pan minimizes water exposure to sensitive areas of your home. Additionally, many drain pans are equipped with a drain line that facilitates direct water removal, further enhancing the protection of your home.
Furthermore, installing a drain pan contributes to extending the overall life of your water heater. It provides a safer operating environment, reducing stress and wear on the unit, which in turn can lead to fewer repairs and replacements over time. In summary, implementing a drain pan under your older water heater is a sound preventative measure, shielding your home from potential water-related damages while ensuring the longevity and efficiency of your water heating system.
Choosing the Right Drain Pan
When it comes to selecting a drain pan for your water heater, several factors must be taken into account to ensure optimal performance and compatibility with your existing setup. Drain pans are available in various sizes and materials, each tailored to meet the diverse specifications of numerous water heater models.
One key consideration is the material of the drain pan. Plastic drain pans are lightweight and resistant to corrosion, making them a good choice for areas where moisture is frequent. On the other hand, metal drain pans, often made of galvanized steel or aluminum, tend to be more durable and can handle higher temperatures, but they may corrode over time if exposed to water consistently. Selecting the right material can significantly impact the longevity and effectiveness of your drain pan.
The dimensions of the drain pan are also critically important. Measure the base of your water heater to ensure a proper fit. A well-fitted drain pan can effectively catch any leaks and prevent water damage. It’s advisable to choose a pan that is slightly larger than the footprint of your water heater, allowing for adequate drainage and additional leeway for installation.
Capacity is another essential feature to evaluate. Some drain pans come with built-in features like drain outlets, enabling effortless water removal. When considering capacity, ensure that the drain pan can hold the anticipated volume of water that may leak from your water heater over time. This will help you avoid frequent emptying and provide peace of mind regarding water damage.
To summarize, consider the material, dimensions, capacity, and additional features when selecting a drain pan for your water heater. By carefully measuring and selecting the appropriate drain pan, you can effectively safeguard your home from potential water damage.
Step-by-Step Guide to Installing the Drain Pan
Installing a drain pan under an older water heater is a preventive measure that can help avoid water damage caused by leaks. The following guide outlines the steps necessary for this installation, along with the required tools and materials.
Before you begin, ensure you have the following tools and materials at hand: a drain pan compatible with your water heater size, a utility knife, flexible or rigid plastic drain tubing, a wrench, a screwdriver, and safety goggles. Additionally, you might want a bucket to collect any water during the draining process.
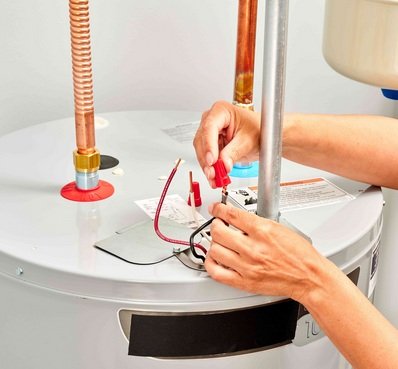
Start by turning off the power or gas supply to the water heater. For electric heaters, you can switch off the circuit breaker, while gas heaters require the gas valve to be shut off. Next, shut off the cold water supply to the unit and attach a hose to the drain valve to allow proper drainage. Open a hot water tap nearby to facilitate this process, and then drain the water heater into a bucket.
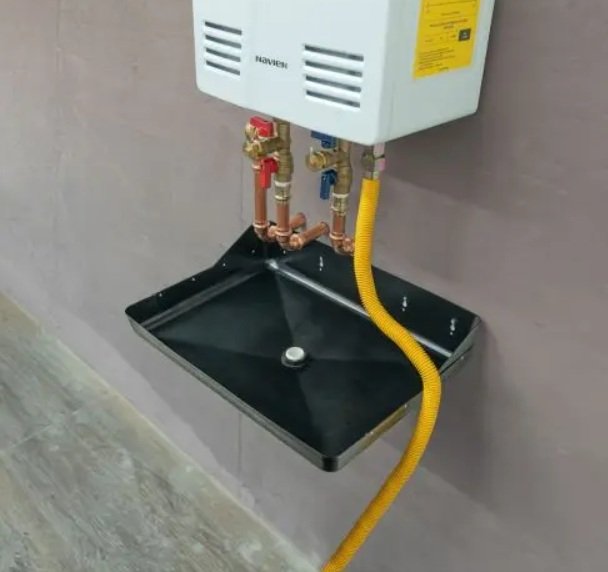
Once fully drained, inspect the area under the water heater for any signs of existing leaks. It’s essential to place the drain pan directly beneath the base of the water heater. You can slide it into position carefully; ensure it is sitting level and properly aligned to collect any future leaks efficiently.
Next, take the drain tubing and connect it to the drain pan’s outlet, ensuring it is directed to a proper drainage location. Secure it tightly with a wrench if necessary to prevent leaks. Finally, ensure that everything is in place and correctly positioned, and turn the water supply back on, followed by the power or gas supply.
During this process, safety is paramount. Wear protective eye gear and ensure you are familiar with the operation of your water heater to identify any unusual indicators. If you encounter difficulties, consulting professional guidelines or seeking expert assistance is advisable to ensure the installation is safe and effective.
Maintaining and Monitoring Your Water Heater and Drain Pan
Proper maintenance of your water heater and the drain pan is essential for ensuring a long lifespan and minimizing the risk of leaks. Following installation, it is advised to check the drain pan periodically—at least once a month is ideal. This initial frequency allows you to catch any issues early before they escalate. During these checks, inspect the drain pan for any signs of water accumulation, rust, or sediment buildup that could indicate a leak.
One of the critical aspects of maintaining your water heater involves monitoring for potential signs of malfunction. Look for unusual noises, such as banging or popping sounds, which may indicate sediment buildup inside the tank. Discolored water or inconsistent water temperatures can also flag underlying issues requiring attention. Should you notice any of these signs, it is prudent to consult a professional technician to assess the situation and perform any necessary repairs.
Regular maintenance also includes flushing the water heater annually to remove sediment buildup that reduces efficiency and lifespan. This task involves emptying the tank, allowing fresh water to flow in, and clearing any particulates that might have settled. Additionally, inspecting the anode rod every few years ensures that your tank remains protected from corrosion, extending its life considerably.
If water accumulates in the drain pan, it is crucial to address the source promptly. Locate the cause of the leak, and repair any compromised plumbing or fittings. If the drain pan overflows, redirect the water safely with a hose to prevent damage to surrounding areas. Having a clear action plan for upkeep and emergencies minimizes disruptions and ensures your water heater and drain pan serve their intended purpose efficiently.